Adding a deck is one of the most rewarding home upgrades Tri-Cities homeowners can invest in. A well-planned outdoor space supports family gatherings, boosts property value, and creates a relaxing place to enjoy the Eastern Washington climate.
It also delivers a strong financial return. According to the National Association of Realtors, outdoor living improvements, like installing a new deck, can recoup more than 80 percent of their project cost on average.
The key is planning ahead. A deck involves more than picking a color and placing boards. Factors like structural load requirements, material properties, railing dimensions, and local permit standards all influence long-term performance.
This deck planning guide walks through the whole process in simple, practical stages. From setting a vision to preparing for construction, you’ll find clear steps that help shape a space built around your daily needs, backyard layout, and long-term goals.

Step 1: Define Your Purpose and Vision
The best projects begin with clear goals. Before discussing materials or shape, think about how the outdoor deck installation will function in everyday life.
Start with questions like:
- How many people will regularly use the deck?
- Will the space be for grilling and outdoor cooking?
- Do you want an area for a hot tub?
- Would you like room for large gatherings?
- Do you want separate areas for sun and shade?
These answers shape everything that follows. For example, a family that loves outdoor dining may want a larger surface area near the kitchen door. A couple who wants a peaceful reading space may prefer a private corner away from direct sunlight.
It helps to sketch a simple layout on paper. Even a rough drawing gives visual direction for the personalized deck plan.
Step 2: Set a Realistic Budget
Budget planning is one of the most important parts of a custom deck design. Size, material type, railing style, and extra features all affect cost. Begin by deciding:
- Approximate deck size
- Material preference
- Complexity of shape
- Extra features like lighting or steps
Think about long-term maintenance as well. For instance, natural wood requires regular cleaning and sealing. Composite options cost more upfront but require less work over time.
It is helpful for homeowners to consult a professional builder early in the planning for outdoor deck installation. A builder can provide pricing estimates that align with the vision. This keeps expectations realistic and prevents mid-project surprises.

Step 3: Choose the Right Deck Materials
Selecting the right material is a major decision. Different products perform differently in the Tri-Cities climate, so it helps to compare how each option looks, feels, and ages over time. The most popular choices include:
Pressure-Treated Wood
Pressure-treated lumber is affordable and widely used. It handles structural framing well and can be stained in different colors. Maintenance needs include regular sealing. Some homeowners choose pressure-treated framing and then upgrade the surface material.
Cedar
Cedar naturally resists moisture. It brings a warm Pacific Northwest appearance to a custom deck design. It does need scheduled staining to protect color and durability.
Composite Decking
Composite products combine recycled plastics and wood fibers. They resist fading, splitting, and mold. Composite decking is popular for outdoor deck installations because it requires less maintenance and has a long lifespan.
PVC Decking
PVC materials resist moisture and insects. They are lightweight, durable, and often chosen for low-maintenance living.
A deck construction company can show material samples and help homeowners evaluate choices that fit the Tri-Cities climate and their long-term maintenance goals.
Step 4: Measure and Plan the Layout
The next step in this deck planning guide is to size and shape the platform. Many homeowners start with available yard space and then work backward.
Important layout considerations include:
- Distance from home entrances
- Furniture footprint size
- Grill or outdoor kitchen placement
- Walkway width
- Railing locations
- Step locations
- Accessibility to the yard
For outdoor deck installation in uneven yards, a multi-level layout may be a better fit than large supports. Multi-level platforms also create visual interest and help divide activity zones for dining, lounging, and cooking.
Stairs are another key element. They must be wide enough for safe use and placed where foot traffic feels natural. Proper railing height and spacing are mandatory for safety and typically governed by the Washington State Building Code Council.
Step 5: Consider Local Building Codes and Permits

Decks are serious structures that support weight and activity. Most Tri-Cities decks require permits. Building codes protect structural safety and long-term stability.
Tri-Cities permit requirements often apply when:
- The deck is attached to the home
- Height exceeds a set measurement
- Structural modifications are involved
- New footings or stairs are added
Applying for permits takes paperwork, drawings, and calculations. Many homeowners choose to work with licensed professionals because they already understand regional code standards. This eliminates problems later and keeps construction schedules on track.
Step 6: Incorporate Design Features and Upgrades
Once the core structure is planned, it is time to explore features that add comfort, personality, and long-term usability. Popular custom deck features include:
- Built-In Seating: Permanent benches create structured seating areas and reduce the need for bulky outdoor furniture. They also define zones on multi-level decks.
- Pergolas and Shade Structures: Pergolas and partial covers provide relief from summer heat and protect furniture from sun exposure. They also add architectural style to the deck.
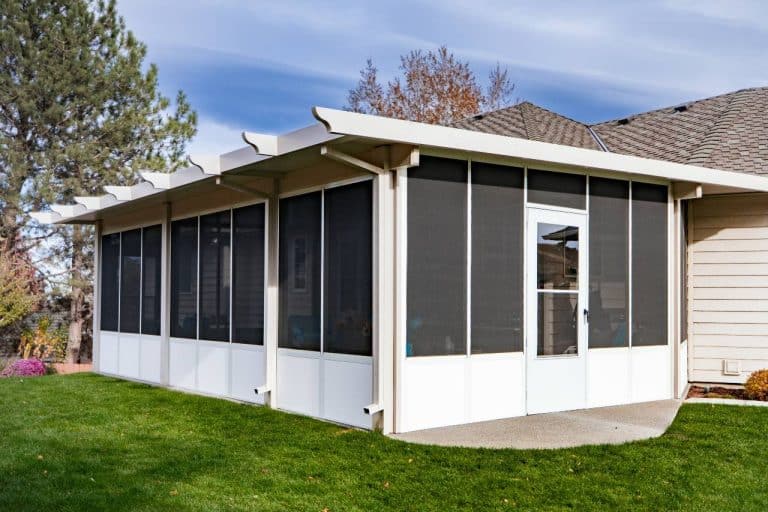
- Screen Rooms and Privacy Walls: Screen rooms block insects and extend seasonal use, while privacy walls shield the space from nearby homes or streets. Both options support comfort and seclusion.
- Outdoor Lighting: Post lights, step lighting, and pathway fixtures improve nighttime safety and visibility. Lighting also adds evening ambiance for dining and gatherings.
- Storage Features: Built-in storage beneath benches or stairs offers a space to keep cushions, tools, and accessories organized.
- Covered Areas: Covered sections allow use during light rain and bright sun. They can also protect deck boards and railings from weather-related wear.
These upgrades can significantly improve daily function and long-term value. They also influence framing needs, electrical planning, and material selection, so it helps to consider them early in the design phase.
Step 7: Work With a Professional Deck Builder

While some homeowners consider DIY installation, hiring a professional deck builder offers major benefits. Deck building companies provide:
- Correct structural planning
- Code and permit support
- Time savings
- Access to skilled installers
- Better material handling
- Warranty support on labor and products
Decks may look simple, but they involve structural weight calculations, footing placement, and weather protection. A poorly installed deck can lead to sagging, warping, or even collapse over time.
Step 8: Prepare for Construction
Once design decisions are complete, the project moves into the construction phase.
A simple single-level deck may take only a few weeks to build, while multi-level layouts, integrated lighting, or covered sections can extend the timeline. Seasonal weather also influences progress, especially during periods of wind, snow, and heavy summer heat in the Tri-Cities.
Preparing the yard ahead of time makes a difference. Homeowners can:
- Clear the build area of furniture, barbeques, and outdoor décor
- Trim back landscaping that may block access
- Mark sprinkler heads and underground lines
- Provide a clear path for equipment and materials
Communication is beneficial during this period. Regular check-ins with the builder help answer questions, confirm design details, and maintain transparency into the schedule.
Step 9: Long-Term Care and Maintenance

Routine maintenance plays a major role in the longevity of outdoor deck installations. Important tasks include:
- Cleaning once or twice per year
- Removing leaves and debris
- Checking for loose fasteners
- Washing away mold or dirt buildup
- Staining natural wood as needed
Homeowners should also schedule yearly inspections. This helps catch small problems before they grow, especially after winter snow or heavy seasonal winds. Composite and PVC materials require less ongoing maintenance, but they still benefit from regular cleaning and periodic inspections.
Final Thoughts
Working with an experienced Tri-Cities builder like Patio Covers Unlimited NW offers guidance through design decisions, permits, installation, and long-term deck performance. Their team understands regional needs and delivers outdoor spaces built to last in the Eastern Washington climate.
Ready to start designing your dream deck? Contact Patio Covers Unlimited NW today for a free consultation and custom design options tailored to your home.